TEL: (074) 938-1178 | EMAIL: [email protected]
Sharpening Your Fish Gutting Knife – Do’s and Don’ts
A guide to Fish Gutting Knife Sharpening….
“A blunt knife is an accident waiting to happen”.
Follow these quick and easy steps to hone your skills and have a razor-sharp edge.
Know Your Fish Gutting Knife
A knife bevel refers to surface that has been ground to form the knife’s edge. A close inspection of a fish gutting knife will reveal a slight angle/incline on either one or both sides that runs down to the edge. This is the bevel. If there is one on both sides, then it is a double bevel knife. If there is one on only one side, then it is a single bevel knife.
The bevel can be ground to a variety of different angles. Generally, the smaller the angle, the sharper the knife.
Single bevel knife: the angle is formed on one side.
Double-bevel knife: the angle is formed on both sides.
Choose your sharpening tool
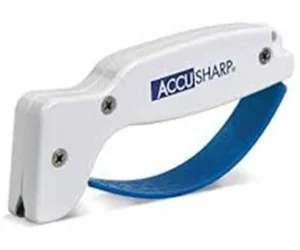
AccuSharp – Safe, fast and simple to use. The AccuSharp Knife and Tool Sharpener – the number one rated, and best-reviewed sharpener on the market. This is the perfect knife sharpener for chef’s knives, paring knives, serrated knives, filet knives – you name it. If you own a knife, you need this sharpener.
-
 Accusharp Knife & Tool Sharpener€16.50
 -
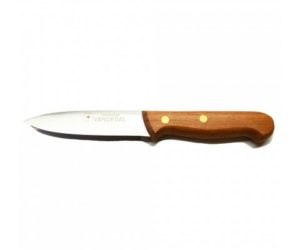
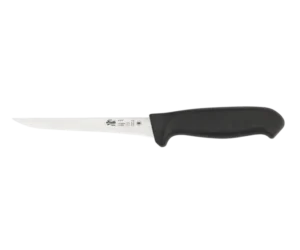
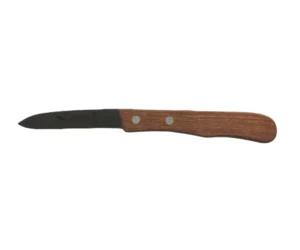
FK53 Wooden Handle Gutting Knife€15.99
-
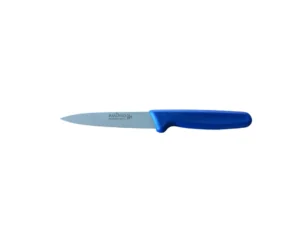
1509 Gutting Knife€15.99
-
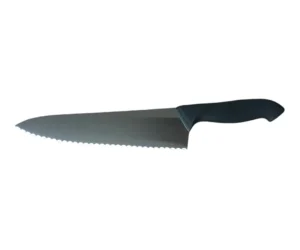
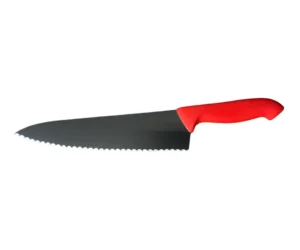
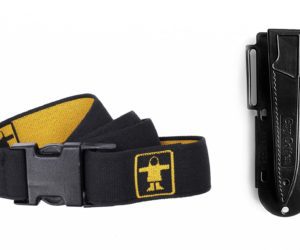
Large Serrated Bait Knife Black Handle€40.00
Sharpening Method: The sharpening angle of the AccuSharp Knife and Tool sharpener is set at approximately 21 degrees.
REMEMBER: LIGHT PRESSURE IS SUFFICIENT. Heavy pressure might cause you to lose control of the sharpener and possibly cause injury.
To use, place your fish gutting knife on a stable surface with cutting edge up and about ½” of the blade tip extending past the edge of the table as illustrated in the image below. While holding the knife handle with one hand, hold the AccuSharp with your fingers through the opening formed by the handle and finger guard.
Remember: The sharpener moves while the blade being sharpened remains stationary.
Straddle the cutting edge of the blade being sharpened with the “V” shaped notch formed in the sharpener. With the head of the AccuSharp at about 90 Degree angle to the blades edge, press down lightly using thumb pressure to draw the
AccuSharp along the edge of the blade. Work in one direction only, not back and forth. Several passes may be required before the blades beveled edge conforms to the proper angle of the AccuSharp. Once that angle has been achieved then two or three passes should be sufficient to give you a razor sharp edge.
The Tungsten carbine sharpening blade in AccuSharp is of high-grade industrial quality and is one of the hardest materials known.
How do I reverse my sharpening blades on the AccuSharp?
To reverse sharpeners, lay the AccuSharp® on its side with the screws up.
Remove the screws and carefully separate the two halves of the handle shown in the illustration.
The sharpeners should remain in the lower half. Simply switch position of the sharpeners (front sharpening blade to rear and rear sharpening blade to front) taking care to keep the reference dot (♦) on the sharpening blades facing toward the tail end of the handle. If the finger guard becomes disengaged during this operation, secure both ends of it in the slots provided prior to reassembly.
Caution: do not reassemble the knife sharpener without the finger guard. Serious injury may result.
Reassemble the two halves of the handle and secure with the three screws.
DO NOT OVER TIGHTEN THE SCREWS. The factory torque setting is about 5 inch pounds of pressure. Tighten them only until you feel increased resistance. If sharpener has any cracks around the screw heads — do not use it.